|
|
|
North Florida Bus ConversionC. Fred Hobe
|
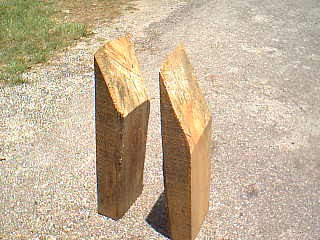
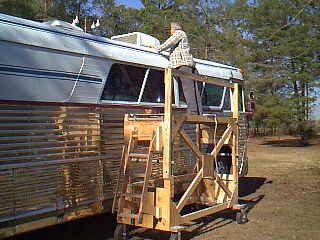
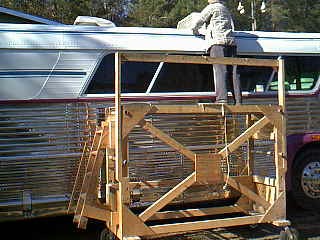
| Tip on making blocks to lift the
coach
Below is a photo of my new ramps. They have been drying for six months. I will be
laminating them with 3/4 ply wood on top and bottom. I glue and screw it on to make a real
tight fit. I have them cut at a saw mill. They are 4 ft. long, 12 inches wide and 6 inches
thick. They will hold up for many years. My old ones are 15 years old and have started to
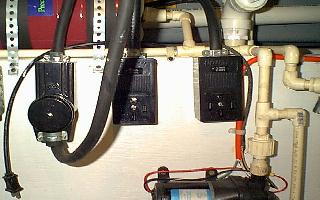
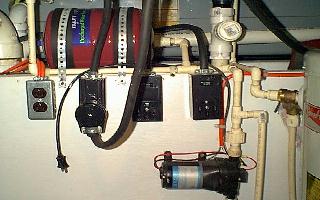
break. I believe that all new coaches should be wired 50 amp 120 240 as most of the new parks are now wiring for this. Put a male 50 amp plug from your main to the point that you want to bring your power cord into your coach. There you install a 50 amp female plug and install it on your power cord 30 feet long or longer. Next install another 50 amp female plug and hook it up to a 30 amp plug with 30 feet or longer cord. Inside the 50 amp female receptacle you tie the two hot legs together. This then will feed 120 volts single phase to both sides of your main. On your 50 amp receptacle you put it together in the standard way one hot leg to one leg and the other to the leg this gives you 120 240 volts. Make sure that you install your green case ground as I call it to the right connection and the neutral to the neutral connection in the female receptacle. Now run your wire from your genset to another 50 amp female receptacle. If your genset is only120 you have to tie the two hot legs together as you did in the 30 amp hook up. If your gen set is wired 240 then you hook up the same as you do for 50 amps. Now when you are running your gen set you only have to plug it to the receptacle from it . If you are in a park that has 50 amps you plug your cord from main in 50 amp receptacle. If 30 you plug in to your30 amp receptacle. This is cheep and full proof you can’t plug in wrong and have any problems. Now you can make what I call a cheater adapter ( shown in picture) this has two 30 amp male plugs on it and one 50 amp female receptacle. In most parks you have one 30 amp plug and a 20 amp plug in You can now plug in your 30 amp into one and the other side into the 20 amp by using a 30 amp to 20 adapter on the 30 amp plug. you now have 50 amps but only single phase, so no 240 equipment will work. But all 120 volt will work if you trip the 20 amp breaker you can switch them an the pole and most of the time it will work. Be careful that you don’t make contact with the end of the lose end when you plug in the other end as it may be hot if you have any 240 thing that are on.
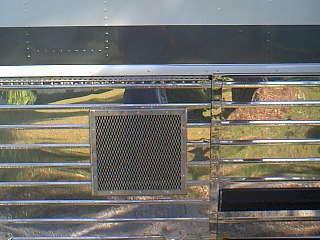
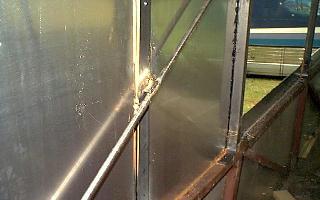
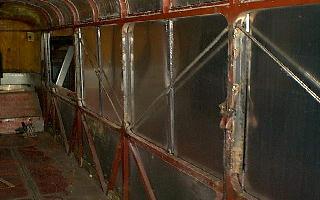
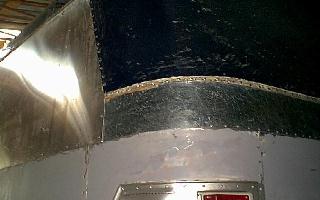
Here is a tip on how to stretch your metal
siding when you install it. I use a 50K Btu diesel fired heater. I direct it on the area
that I am riveting . Wait till the metal is real hot but not red. I drill from the inside
out through the existing rivet holes and rivet top and bottom about for two feet. Then
move the heater over and do it again. As it cools it pulls nice and tight. Start at the
back and work toward the front. In the summer I put it in the sun and it will get so hot
that you can' t touch it. But this is the only way that you can get it tight in the winter
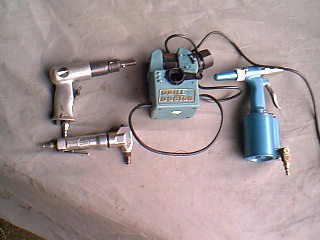
so that it will look good when it get hot in the summer and not have wrinkles in it. 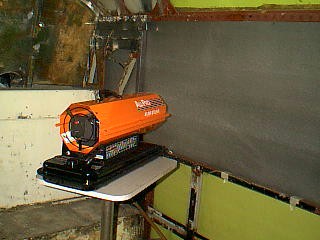 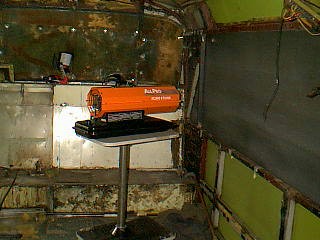 Tip on tools to install siding Having the right tools I believe are very important when you are installing your siding. All three of these are tools that will make your job easier and a lot faster. The first is a good drill bit sharpener. Over the years I have used all types and was able to do just as good free hand on a grinder. So wasn't to crazy to try another one. A friend of mine introduced me to the drill doctor model 750 made by Darex Corp in Asland OR.. It is a very precision tool that will sharpen all types of bits. I use 7/32 Cobalt bit that will drill S.S. real good cost is about $2.50 each. When the bit stops cutting real good I stop and change it . I keep about 5 or 6 in my pocket. At the end of the day I stop and sharpen them all . They are split point bit and the Drill Doc. does a very good job they cut better than when new. The cost about $175. Next you need a nibbler. This is used to cut out around the Windows and any cut that you have to make on you sides. You are able to follow a straight line and they can cut up to 16 gage mild steel. If you want one that is cheap and will do several coaches you can get it from Harbor Freight for $39.95 # 36866-oaha It does a good job and will do all the cutting that you will have to do. Next you need a rivet driver and back up to set your rivets you can again get a cheap air impact hammer from Harbor freight for $9.99 # 32940-Iaha. They will set rivet good but don't use more than 50 P.S.I. you can experiment on other than your coach to get the air right. You don't need to leave it on for more than a second or two, Hold it firm so it won't jump of the head. You will need to get a anvil to fit the rivet head. It can be bought from your rivet suppler. These are cheap tool and you don't need real expensive one if you are not doing this for a living. I use them for back up and they work. Next you will need a pop rivet setter. this also can be bought from harbor Freight #00167-oaha for $49.99 .I bought one of these over a year ago and have set over 10 pound of rivets with it and it works ok still. So cheap is not always bad. These tips will make your job faster and a lot better looking for very little money.
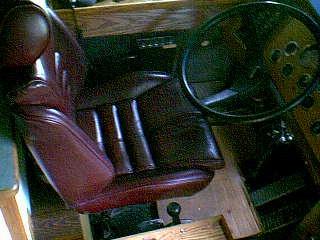
Tip on how to get a high quality drivers seat
for very little money. |
|
Information Systems Management.
|